Unlocking Your Inner Artist: Making Wolf Drawing Easy And Fun
Have you ever looked at a magnificent wolf, perhaps a gray wolf, with its strong build and keen eyes, and wished you could bring that powerful image to life on paper? For many, drawing such a creature seems like a very big challenge, something only experienced artists can truly do. But what if I told you that getting started with a wolf drawing, making it easy and enjoyable, is very much within your reach? You might be surprised at just how simple it can be to begin sketching these incredible animals.
Wolves, like the majestic timber wolf, are truly captivating members of the dog family, the Canidae. They are, you know, the largest wild members of this family, standing out with their less pointed ears and muzzle, and a somewhat shorter body with a longer tail. These amazing animals, which are actually the ancestors of our domestic dogs, come in various types, from the resilient arctic wolf that handles icy places to the red wolf that lives in dense forest areas. Learning to capture their unique look, honestly, is a very rewarding creative pursuit.
This guide is here to show you a simple path to creating your very own wolf art. We will look at some straightforward ways to approach a wolf drawing, making it easy for anyone, even if you feel you have never really drawn much before. From basic shapes that get you started to adding those little touches that make your wolf feel alive, we will cover the steps together. So, grab your paper, a marker, and maybe some gray and black pencils, because we are about to make drawing a wolf a really fun activity for you.
- Glen Powell Relationship
- Simone Biles Boyfriend
- Where Is Sherri Papini Now
- Movies To Stream This Weekend
- Daniel Radcliffe Wife
Table of Contents
- Understanding the Wolf First
- Getting Started with Your Easy Wolf Drawing
- Different Styles for Your Wolf Art
- Common Questions About Drawing Wolves
- Your Next Steps in Wolf Drawing
Understanding the Wolf First
Before we even pick up a pencil, it is pretty helpful to know a little bit about wolves themselves. Knowing what makes them special can really help your drawing feel more true to life, you know? The gray wolf, sometimes called the timber wolf, is perhaps the most well-known kind. These amazing creatures are social animals, often living and hunting in groups called packs. They use their speed and smarts, often at night, to find food. Their fur can be gray, brown, black, or even white, depending on where they live, which is, like, all across the northern half of the world, in places like Europe, Asia, and North America.
The International Wolf Center, for instance, does a lot of good work teaching people about wolves and their important connection to wild places. They also help us understand the part humans play in the wolf's future. When you draw a wolf, you are capturing a piece of this wild spirit, this very strong connection to nature. Thinking about their strong, lean bodies, their watchful eyes, and their powerful movements, really, can help you make your drawing more expressive. They are mammals, after all, part of the carnivora group, and they start having their young when they are about two or three years old, which is sort of interesting to think about.
Getting Started with Your Easy Wolf Drawing
Now, let us get to the fun part: making your wolf drawing easy. The secret, honestly, is to start with simple shapes. Think of it like building blocks for your art. You do not need to be a professional to do this; our own resident artist, for example, can show you how to draw a very realistic wolf in just a few straightforward steps, even if you have never tried drawing anything like it before. We will break it down into small, manageable parts, so you will be drawing one, you know, in no time at all.
- Aldi Cheese Recalled
- Schuyler Frances Fox
- Gigi Hadid Daughter
- Carrie Beth Van Dyke
- Taylor Swift Album Covers
Basic Shapes for the Body
To begin your wolf, you want to start with the main part of its body. A good way to do this is by drawing a big oval shape. This oval will be the wolf's torso, its main body section. It does not have to be perfect, just a nice, smooth oval. This, you see, gives you a solid foundation to build upon. It is pretty much the first step in getting the overall size and shape right for your wolf drawing, making it easy to adjust later.
Next, you will want to think about where the legs will connect. For each of the wolf's leg joints, you can add small circles. These circles are like little guides, showing you where the knees and ankles might be. You are not drawing the full leg yet, just these joint markers. This method, actually, helps you get the proportions right from the very start, which is a very helpful trick for any animal drawing, especially when you are trying to keep your wolf drawing easy and simple.
Adding the Head and Muzzle
Once you have the body oval and leg joint circles, it is time for the head. You can draw another circle, perhaps a bit smaller, overlapping the front part of the body oval. This circle will be the wolf's head. It is okay if it overlaps a little; that is how the head connects to the body. This, you know, is a very common starting point for many animal drawings, making the process feel less scary.
From this head circle, you can then start to shape the muzzle. Think of it as an elongated, slightly rounded triangle or a more narrow oval sticking out from the front of the head circle. This will be where the wolf's nose and mouth will eventually be. Do not worry about tiny details yet, just get the basic shape in place. This step, you might find, really starts to make your wolf drawing look more like an actual wolf, even at this early stage.
Shaping the Legs and Paws
With your joint circles in place, you can now connect them to form the legs. Draw lines or slightly curved shapes from the body down to these circles, and then from the circles down to where the paws will be. Remember, a wolf's legs are strong and relatively long. You can, for instance, make them a bit thicker at the top and taper slightly towards the bottom.
For the paws, you can start with simple oval or rounded rectangle shapes at the very bottom of each leg. These do not need to be super detailed yet. Just give them a basic form. The goal here is to establish the position and general size of the paws. This, you know, helps give your wolf a sense of being grounded, which is pretty important for a convincing drawing, making your wolf drawing easy to build upon.
The Tail and Ears
A wolf's tail is quite distinctive; it is usually long and bushy. To add the tail, you can draw a curved line extending from the back of the body oval, then draw another line parallel to it to give it thickness. Think of it like a big, fluffy question mark, sort of. It should look like it has some weight to it, not just a thin stick. This, honestly, adds a lot of character to your wolf.
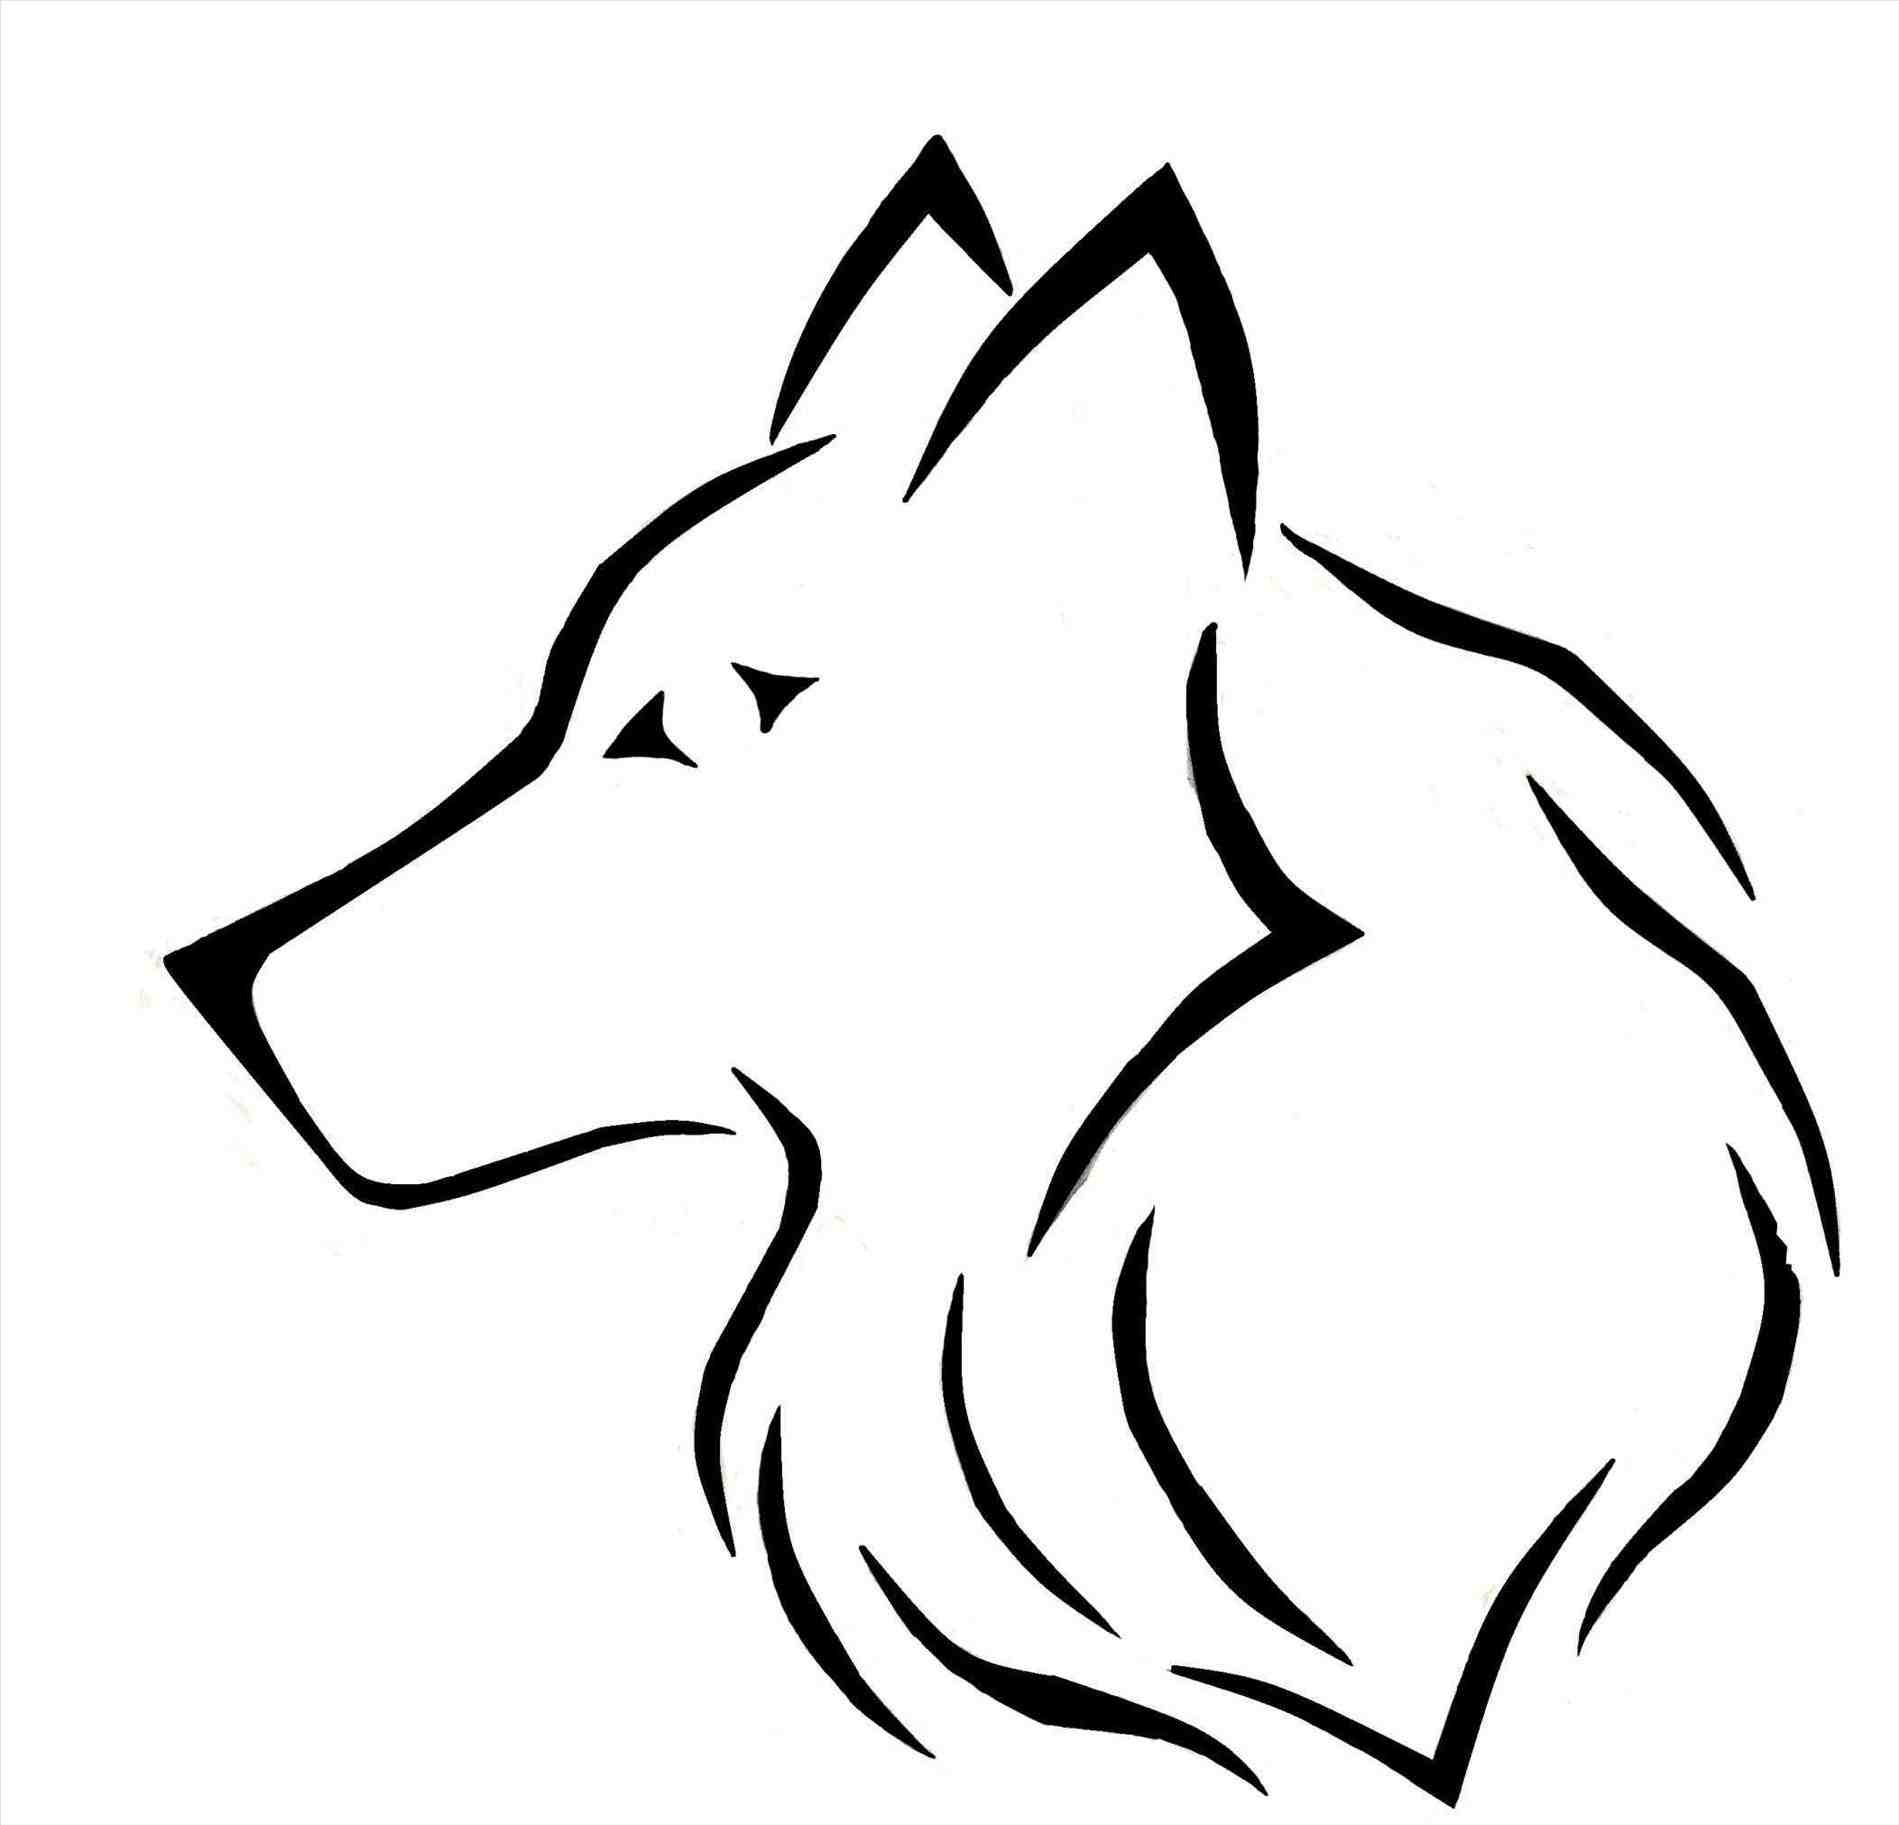
For the ears, go back to the head circle. Wolves have less pointed ears compared to some other dog species. You can draw two rounded triangles on top of the head. They should be somewhat upright but not too sharp. Think of them as slightly rounded at the tips. This, you know, really helps distinguish your wolf from, say, a fox or a domestic dog, which is pretty neat.
Bringing Out the Details
Once you have all your basic shapes down, you can start to refine your wolf. This is where you can begin to erase some of your initial guide lines and smooth out the connections between the shapes. You can add the eyes, which are often almond-shaped and expressive. The nose can be a small, dark oval at the end of the muzzle. These little touches, you know, truly bring your wolf to life.
Think about the fur. You do not need to draw every single strand, but you can use short, feathery strokes along the outlines to suggest fur texture. Remember, a gray wolf's fur can range from gray to brown, black, or white. You can use your gray and black colored pencils here to add some shading and depth, making certain areas darker or lighter. This, in a way, gives your wolf a more three-dimensional look, which is pretty cool.
Different Styles for Your Wolf Art
The great thing about art is that there is no one "right" way to do it. You can draw a wolf in many different styles. From very cute, almost cartoon-like styles, sometimes called kawaii, to more realistic pictures, there are, like, fourteen different ways you could bring these amazing animals to paper. Each approach has its own charm, and you can pick what feels best for you. For instance, kids often have a wonderful time learning to draw an easy wolf in a fun, simplified way, following just nine simple steps from start to finish, which includes just outlining the wolf’s shape.
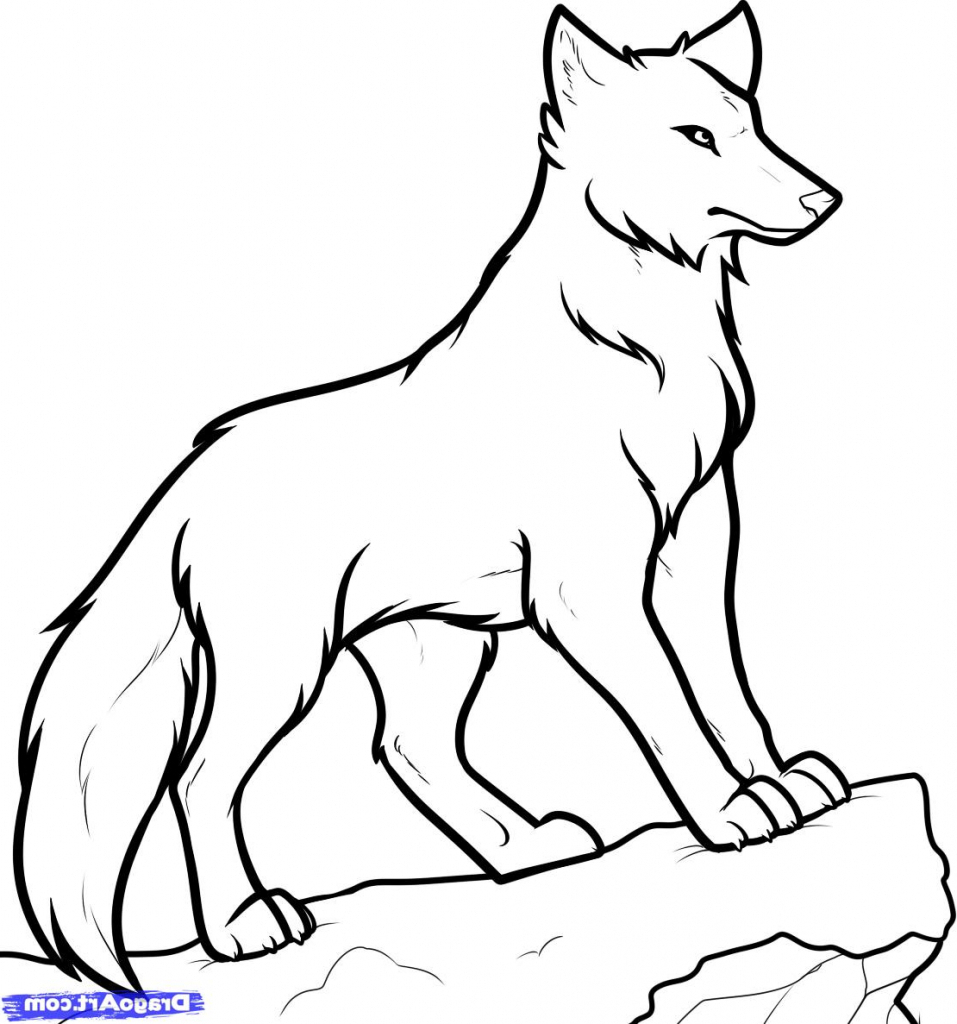
If you are aiming for a realistic wolf, you might spend more time on shading and getting the proportions just right, maybe using a reference picture. If you want something more playful, you can make the head bigger, the eyes larger, and the lines softer. The important thing is to have fun with it and let your own creative spirit shine through. You could even, you know, try drawing a wolf in motion, perhaps running or howling, once you feel comfortable with the basic standing pose. There is, really, so much you can explore.
Common Questions About Drawing Wolves
People often have questions when they are starting out with wolf drawing. Here are a few common ones, sort of like what people usually ask.
How do you draw a wolf step by step?
Drawing a wolf step by step usually starts with simple shapes like ovals and circles for the body and head. Then you connect these shapes with lines to form the limbs and add details like the ears, tail, and facial features. It is a bit like building a sculpture, adding piece by piece. Many tutorials break it down into very small, manageable parts, so you can just follow along easily. You will be drawing one, you know, in no time!
What are the basic shapes to start a wolf drawing?
The most basic shapes you will want to use are ovals and circles. An oval for the main body, another circle for the head, and smaller circles for the leg joints are a great starting point. These shapes, you know, help you get the overall structure and proportions right before you add any finer details. It is a pretty solid way to begin any animal drawing, actually.
Can beginners draw a realistic wolf easily?
Yes, absolutely! Even if you are just starting out, you can learn to draw a realistic wolf with easy-to-follow instructions. The key is to use simple methods, like breaking the wolf down into basic shapes and building from there. Focusing on one small part at a time makes the whole process feel much less overwhelming. You will be surprised at what you can achieve, honestly, with just a little practice and patience.
Your Next Steps in Wolf Drawing
You have now learned some straightforward ways to approach a wolf drawing, making it easy and approachable. From understanding the basic anatomy of a wolf, like how it is the largest wild member of the Canidae family and its less pointed ears, to using simple shapes as your foundation, you have got a great start. Remember, practice is key, and every line you draw helps you get better. You could, for example, try drawing different types of wolves, like the arctic wolf or the red wolf, each with their own subtle differences.
Keep experimenting with your art supplies. Try using different kinds of paper or pencils. Maybe you want to explore adding color, or perhaps even try drawing wolves in various poses, like a howling wolf or one resting. There are so many possibilities, and each one helps you grow as an artist. You can learn more about wolf characteristics and habitats on our site, and perhaps even find more inspiration for your next drawing project by looking at different artistic styles for animals. The world of drawing is, like, pretty vast, and you are just beginning to explore it.
For more interesting facts about wolves and their conservation, you might want to visit the International Wolf Center. They have a lot of great information that can inspire your art and deepen your appreciation for these magnificent animals. Keep drawing, keep exploring, and most importantly, keep having fun with your wolf drawing easy journey.
- Legendary Love Cannon
- Jordan Chiles Fashion Week Dress
- Kicked Off Flight Misgendering
- United Passenger Bites Flight Attendant
- Peyton Manning Kids
Easy Wolf Drawings | Free download on ClipArtMag
Wolf Drawing Easy at GetDrawings | Free download

Wolf Drawing Easy To Trace at Shirley Pearson blog
